Yes, the temperature is falling, not by much compared to the rest of the country, but we will take what we can get here in Southern California! It’s exciting to see the leaves turning and the smell of autumn. Since it’s getting dark earlier in the evening and the kids still want to play, we have put together some fun and educational activities that you can do in the comfort of your home. It may get messy, but the fun and laughs you will share with your little ones are sure to be priceless.
Oozing Volcanos
We hope you saved your pumpkins, because now it’s time to make them volcanos! Well…just help them ooze.
Here is what you will need.
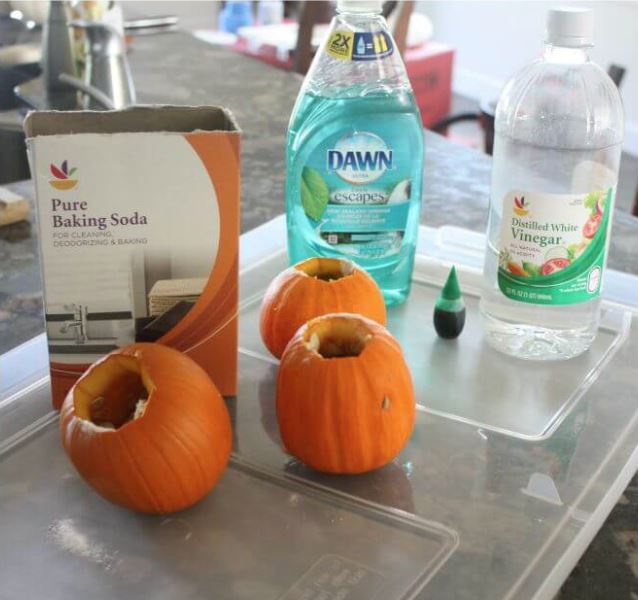
- Mini pumpkins or your leftovers
- Baking soda
- Vinegar
- Dish soap
- Food coloring (optional)
- Spoon, baster, and/or measuring cup
- Tray to catch the mess
- Goggles for the little scientists
Step 1
We suggest you do this activity in your kitchen or garage, because it can get messy. If you are starting with a new pumpkin, begin by cutting out the stem, as you would when carving a Jack O’Lantern. Try to keep the opening on the small side. This will make sure your ooze has a phenomenal debut. You can choose to clean out some of the seeds, but don’t stress over getting every last one.
Step 2
Place your mini pumpkin volcanos on some sort of tray or lid. You may need to adjust depending on the amount of pumpkins you use.
Step 3
Add four spoonfuls of baking soda to each pumpkin. Then add three generous drops of dish soap and lastly add a few drops of food coloring, if desired!
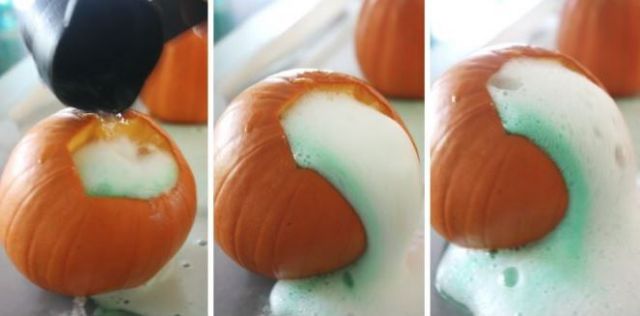
Step 4
Get ready for mini pumpkin volcanoes! Pour vinegar into a bowl and provide your kids with eye droppers, basters, or small measuring cups! Use your tools to slowly add vinegar to your pumpkin. The more vinegar you add, the quicker your solution will start to bubble. You can repeat the process over and over with more vinegar and more baking soda. The dish soap gives the ooze a foamy appearance.
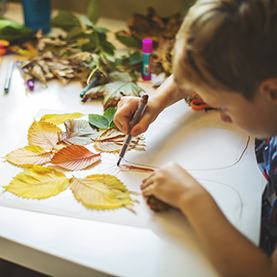
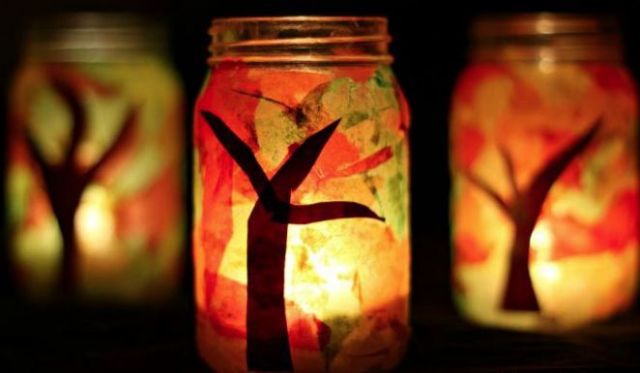
Fall Luminaries
It’s a homemade night light, perfect for this season.
Here is what you will need.
- Mason jars (easily purchased at any Dollar store)
- Glue
- Fall colored tissue paper or leaves
- Brown construction paper
- Paint brush
- Battery operated candle
- Child safe scissors
Step 1
Cut up your fall colored tissue paper into different sizes and shapes
Teachable Moment – You can use this time to talk to your little ones about the differences between some shapes and colors. If your child is more advanced, see if they can cut more elaborate shapes!
If you choose to use natural leaves, take a walk around your neighborhood and let your child explore the foliage around.
Step 2 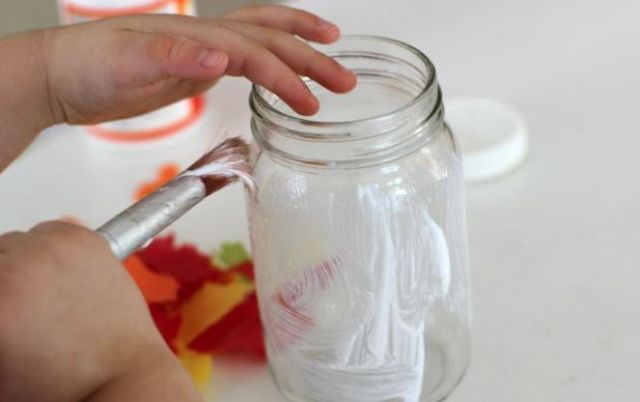
Use your paintbrush to apply glue on the outside of the mason jar. Some glue dries at a faster rate; you may have to paint one section at a time.
Step 3
Add your tissue paper or leaves to the jar. When adding your tissue paper, we recommend having a wet paper towel or wipe handy because little hands can easily get the glue on them and it makes it hard to attach each new piece with sticky hands. Get creative by using your brown construction paper to cut out a tree trunk and branches. Glue them on accordingly.
Step 4
Place your candle inside, and watch the magic happen. We recommend you use battery operated candles.
Pumpkin Pie Ice Cream
Pumpkin Pie Ice Cream is an easy homemade ice cream recipe that tastes just like a slice of your favorite pumpkin pie!
Here is what you will need. All listed ingredients make 3-4 servings.
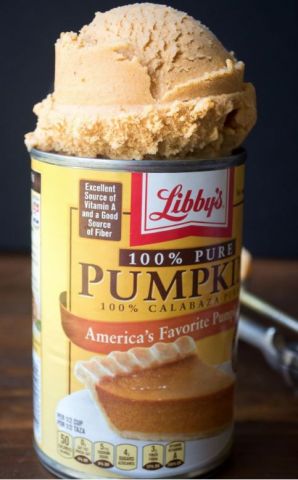
- 1 – 15 oz can of pumpkin puree (not pie filling)
- 1 – 12 oz can of evaporated milk
- 1/2 cup sweetened condensed milk
- 3/4 cup sugar
- 1/2 tsp ground cinnamon
- 1/2 tsp ground ginger
- 1/4 tsp ground cloves
- 1/4 tsp freshly grated nutmeg
- Ice cubes
- 2-gallon size zip lock bags
- 1/2 cup of Kosher salt
Step 1
Taking account for all the listed ingredients and their measurements (except for the ice and salt), mix them all into one zip lock bag. Seal the bag tightly, so none of the liquid will leak out.
Teachable Moment – use this time to talk to your kids about measurements. For instance, the difference between 1 cup and a ½ of a cup.
Step 2
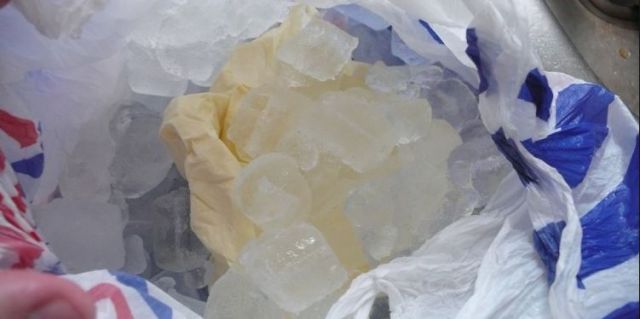
Fill the gallon size zip lock bag halfway with ice cubes. Sprinkle Kosher salt over the ice cubes.
Step 3
Insert one bag filled with ingredients into the bag of ice and salt. Seal tightly and double check to make sure both bags are closed tightly.
Teachable Moment: You can use this time to talk with your child about the three states of matter: solid, liquid and gas. Your child will witness the ice cream mixture transform from a liquid to solid.
Step 4
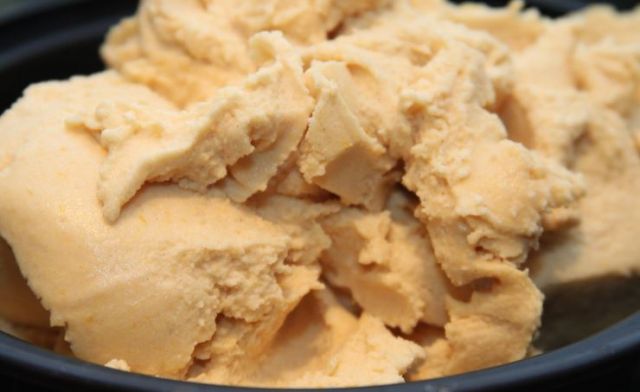
Shake the gallon zip lock, which contains your ingredients bag, for about 5-10 minutes until the ice mixture begins to harden. Feel the small bag to determine the consistency of your mixture. Once satisfied, remove the ingredients bag.
Step 5
Open the zip lock bag and add any desired toppings. Feel free to eat the ice cream straight from the bag or transfer it to a desired serving dish.
Thank you to Little Bins Little Hands, Where Imagination Grows, The View from Great Island, for these awesome activities [links]. The fun doesn’t have to end here. Follow CCRC on social media at CCRC4Kids, and be the first one to hear about events, opportunities and fun activities! For more information, please contact 818-717-1036 or email, [email protected].
